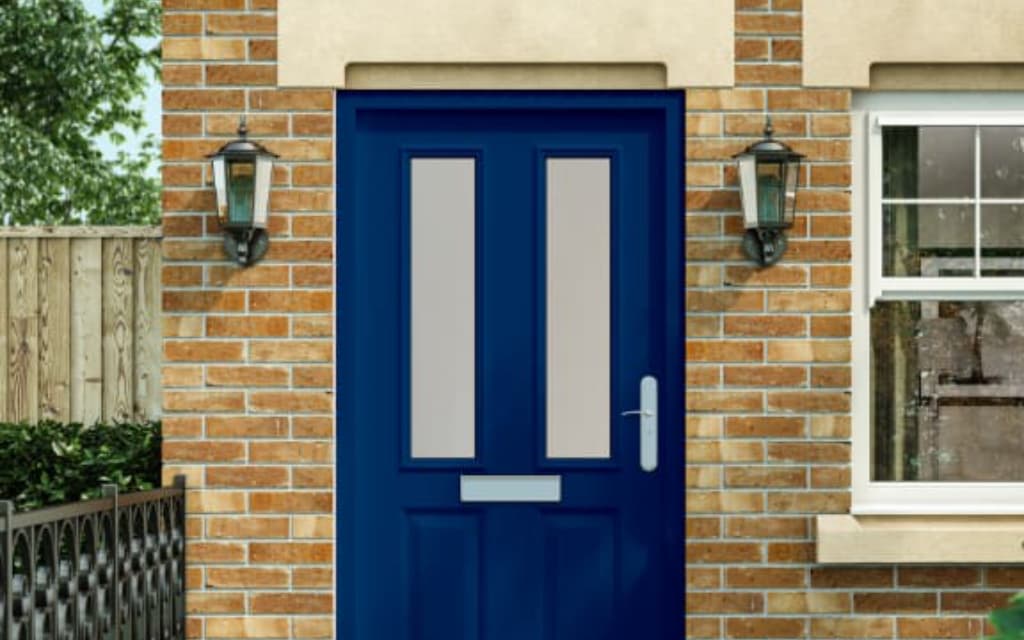
Perhaps you’re moving house soon and want to give your doors a fresh new look to impress buyers, or you could be bored with the current colour and want to spruce things up with a new shade. Painting an uPVC door can help to update and revitalise your home’s entrance. Painting a front door can lend curb appeal but is it advisable? A poor finish can ruin that all-important first impression of your house. This is why you must understand how to achieve a good finish, particularly when painting materials such as uPVC.
In this guide, we look at whether it is worth painting a uPVC door, the step-by-step process to carefully follow if you choose to, and the other options available to update your front door.
Can You Paint uPVC Doors?
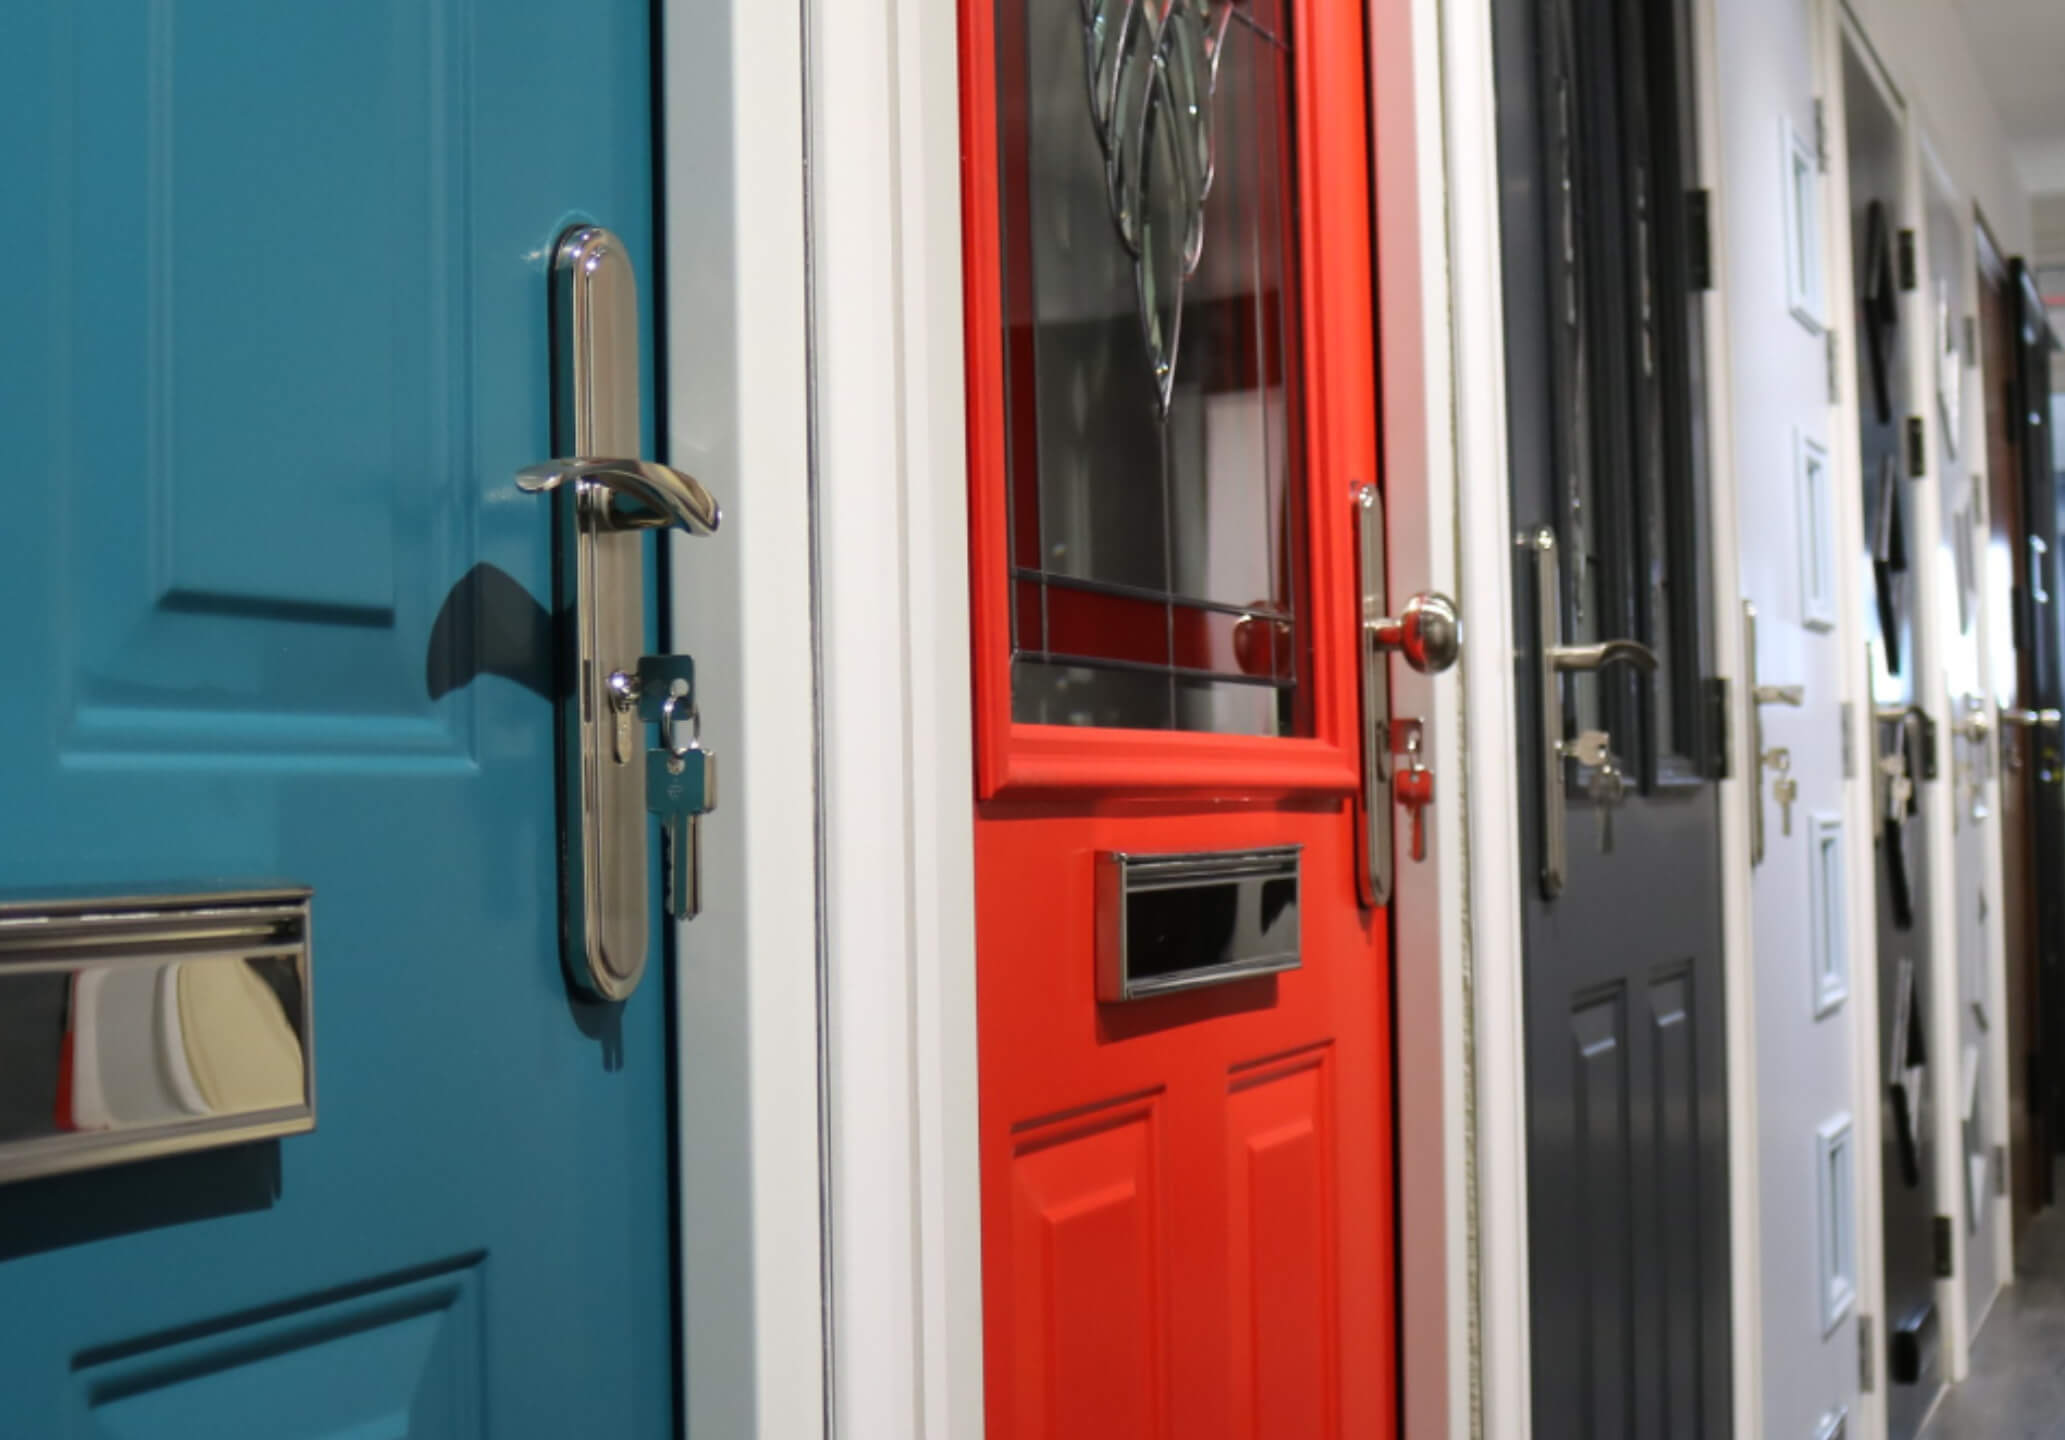
In short, you can paint uPVC doors, as you can pretty much paint anything in your home. However, it is worth considering that uPVC was designed to be low maintenance and resistant to the elements and weathering without the need to paint. If you do paint a uPVC door there will be varying degrees of success, especially if this is a DIY job. It’s important to note the potential problems that may arise when painting a uPVC door. Traditionally, it has been said that uPVC should not be painted due to its non-porous nature. It is thought that paint will not adhere successfully to the uPVC surface, which leads to peeling or flaking over time. Furthermore, painting could potentially void the manufacturer’s warranty on the doors.
The environmental impact of painting uPVC should also be considered, given that the paint can make it more difficult to recycle.
The Emerging Viewpoint
More recently, advances in paint technology have led to products that claim to adhere to uPVC surfaces. These paints are designed to bond with the uPVC at a molecular level, resulting in a more durable finish. Homeowners have reported successful results with these products, indicating that it’s possible to successfully paint uPVC doors with careful preparation and the right materials. Painting uPVC doors could be a cost-effective way to refresh or update their look without replacing them.
However, it’s important to note that the long-term durability and performance of painted uPVC doors are still somewhat uncertain. Further research and user feedback will help clarify this over time.
Before you paint your uPVC front door – consider these factors
Painting your front door might seem like a straightforward job. However, there are some factors to consider before taking the plunge to paint a uPVC door.
Don’t paint uPVC in the first year
In the first year, the resins used in the manufacturing process continue to secrete. These resins will stop paint from binding to the surface.
uPVC is not designed to accept a paint or varnish
The main challenge in painting an uPVC door is for the paint to gain adhesion to the surface and to bind with it.
Thermal expansion
Paint has to cope with thermal expansion as the door expands and contracts through the seasons, even more so if the doors are south-facing.
UV exposure
If your door and windows are south-facing and enjoy plenty of sunshine you also need to consider that the paint used is stable under UV exposure and won’t become sun-bleached over time.
Please note:
Most people are not aware that any DIY attempts, including painting your uPVC door or windows can void the warranty. Always check with the supplier before you get the urge to do it yourself.
Pre-Painting Preparations
If you are still keen to attempt to paint your uPVC door, we would advise you to follow these steps.
Cleaning the uPVC Door
Before starting the painting process, it’s essential to thoroughly clean the uPVC door.
Step 1
Remove any dirt, grease, or grime that might hinder paint adhesion. This can be done by using a simple solution of mild detergent and warm water.
Step 2
Use a soft, non-abrasive cloth or sponge to clean the door, ensuring that you reach all crevices and corners. For more stubborn stains or dirt, a specialised uPVC cleaner can be used.
Step 3
Rinse the door thoroughly with clean water and let it dry completely before moving on to the next step.
Sanding and Prepping the Surface
To achieve a nice smooth finish, it’s essential to sand to help prepare the area for painting application. By sanding you are removing imperfections, creating a nice smooth finish. Although uPVC is non-porous, lightly sanding the surface can help the primer and paint adhere better.
Sanding
Use fine-grit sandpaper (around 220-grit) to scuff the surface lightly. Always wear a dust mask to protect your eyes and mouth. The aim is to create a slightly rougher surface for the paint to grip, not to remove the existing finish.
Prepping
Wipe the door down with a damp cloth to remove any dust created by sanding, and allow it to dry thoroughly.
Masking and Protecting Surrounding Areas
Before you begin painting, it’s crucial to protect the surrounding areas from paint splatter or accidental brush strokes.
Protect
Use masking tape to protect door handles, hinges, and glass panels. If the hardware can be removed, that may be the best option. Put down drop cloths or plastic sheets to protect the floor and any nearby furniture.
Masking
If the door is attached, you may want to consider masking off the surrounding door frame as well.
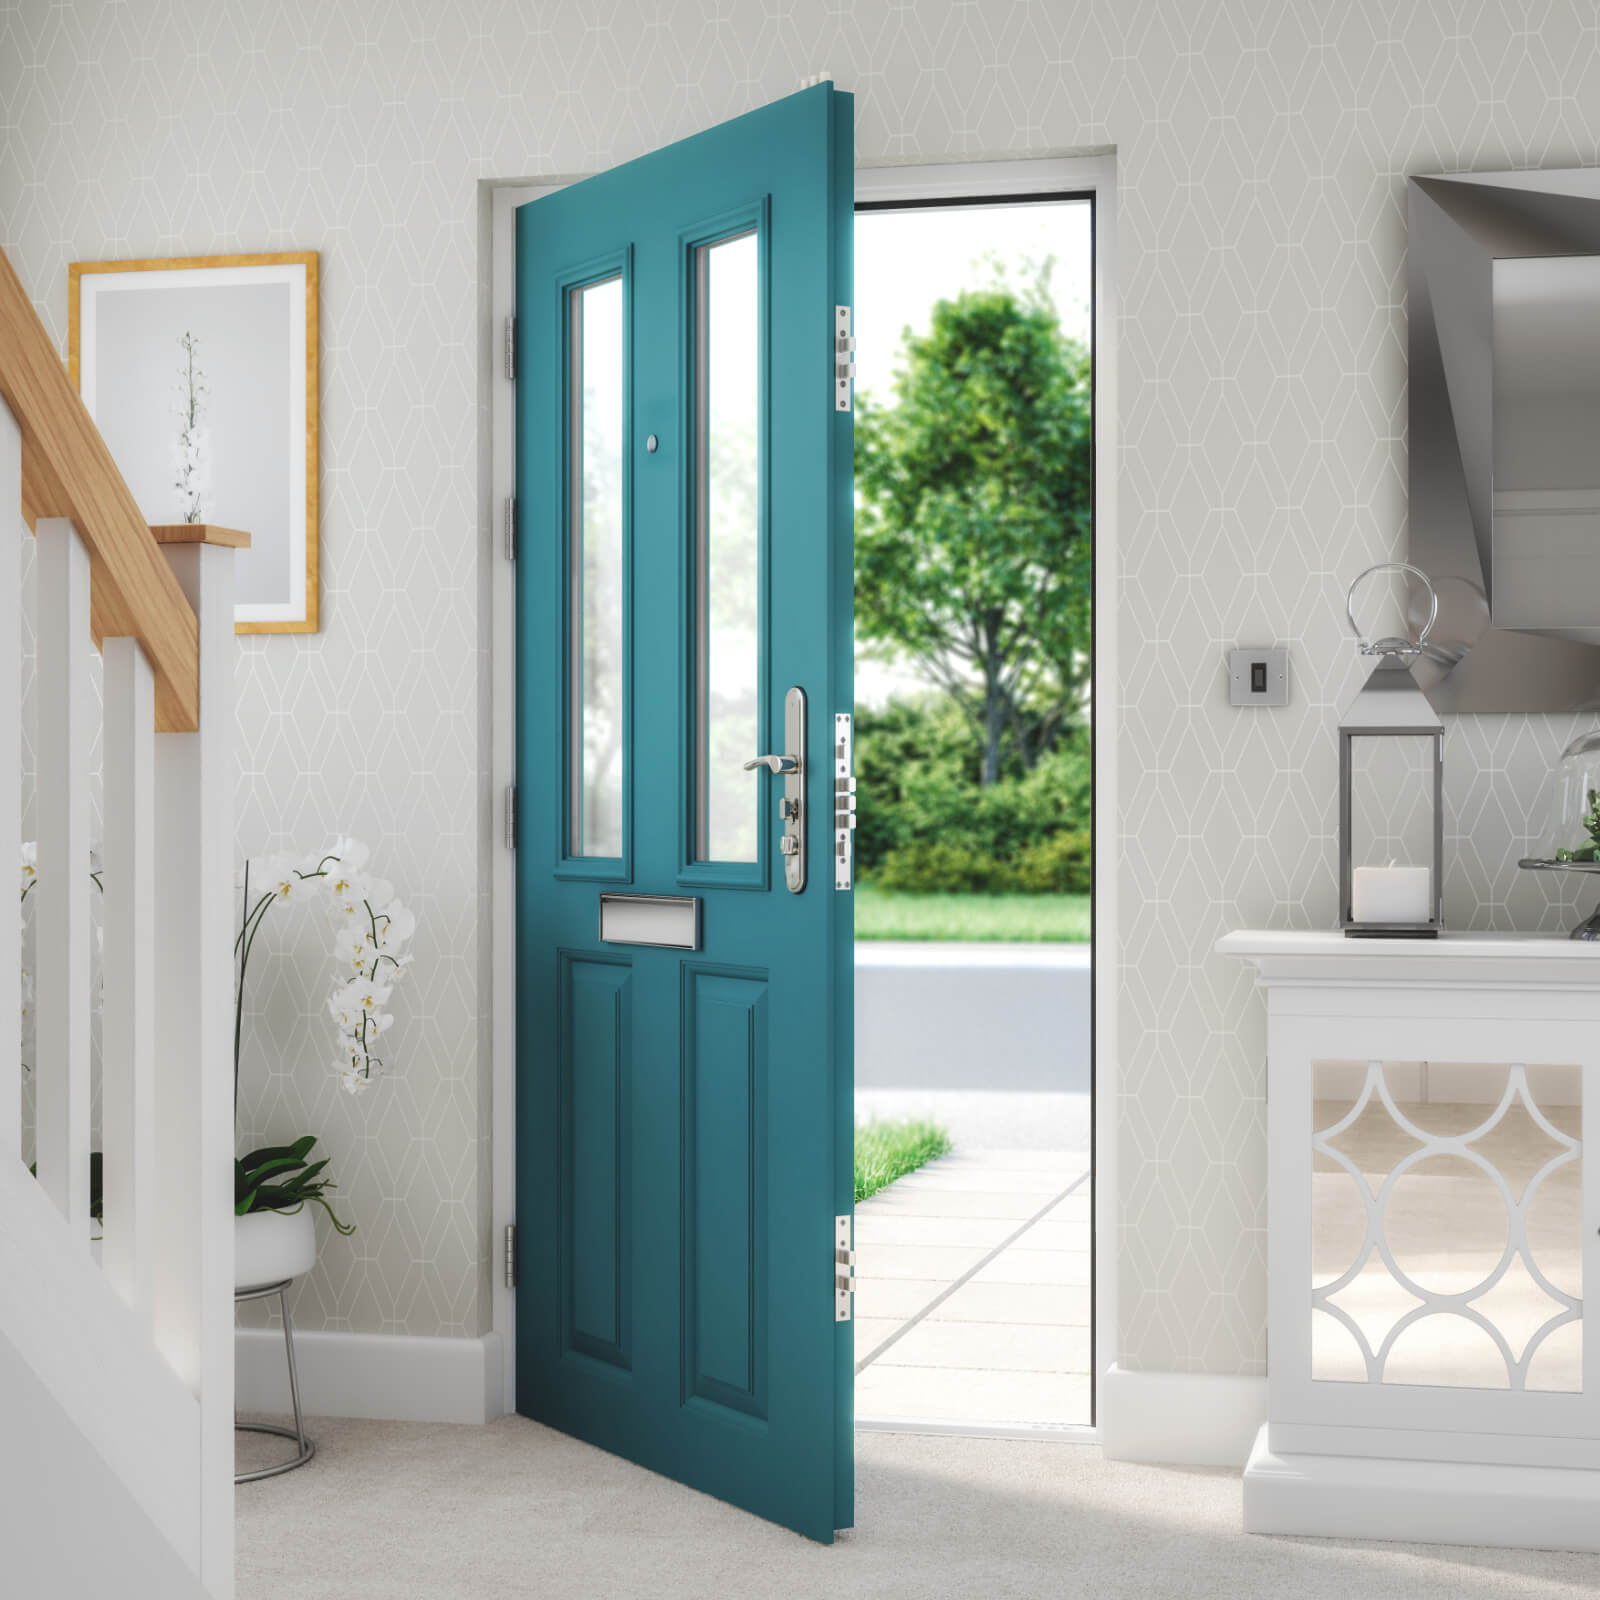
Step-by-step Guide to Painting uPVC Doors
Once you have ensured the door is clean, sanded, prepped, and the surrounding area is protected, you can begin the painting process.
Applying the Primer
Step 1
Use a high-quality primer for uPVC, which will create a surface that the paint can bind to. It might need more than one coat and you must wait for each coat to dry before applying another one. Then wait a few days for the primer to fully ‘cure’ before you apply the topcoat.
Step 2
Apply the primer evenly using a brush or roller, starting from the top and working downwards.
Step 3
Cover all areas, including edges and crevices.
Step 4
Allow the primer to dry completely, according to the manufacturer’s instructions before moving on to painting.
Applying the Topcoat
After the primer has dried completely, apply the first coat of paint.
Step 1
You could use exterior gloss or satinwood for the paint finish but it’s far better to use an acrylic or polyurethane-based paint. This will have better expansion properties to avoid the dreaded gutter cracking effect.
Step 2
Allow the first coat to dry thoroughly before applying the second coat. Follow the paint manufacturer’s guidelines for drying times.
Step 3
Depending on the colour and type of paint used, you may need to apply additional coats. Always let each coat dry fully before applying the next.
Painting Techniques for Smooth Application
To ensure a smooth application of paint to uPVC, follow this process:
Step 1
Use a good-quality paintbrush or roller designed for smooth finishes.
Step 2
Start painting from the top of the door and work your way down.
Step 3
Apply the paint in thin, even strokes, following the grain of the door where possible.
Step 4
Avoid overloading the brush or roller with paint to prevent drips and runs.
Step 5
It’s better to apply several thin coats rather than a thick layer to guarantee a smoother finish.
Adding Finishing Touches
Once the final coat of paint has dried, you can begin adding the finishing touches.
Step 1
Once the final coat of paint has dried, remove any masking tape or protective coverings.
Step 2
Inspect the door for any missed spots or uneven areas and touch up as necessary.
Step 3
Consider applying a clear sealant for additional protection and longevity.
Step 4
Allow the door to cure completely before reattaching the hardware or using it regularly. This may take a few days depending on the paint and weather conditions.
Conclusion
The most difficult part of painting a uPVC door is to get a seamless professional finish without brush marks and it’s nearly impossible to get a smooth finish without using a spray. So, be realistic that you will have brush marks and ridges once the paint has dried. Also, watch out for the brush shedding hair in the paint and getting trapped in the paintwork.
Other Tips for Painting uPVC Doors
Use a good quality brush, take your time, and don’t paint on a hot day as the paint will dry too quickly and can affect the finish. It’s also not advisable to paint in winter when the temperature is lower and the paint will take longer to dry. Once completed, make sure everyone in your home is aware of wet paintwork. Don’t let your dog rub against it, ensure your kids don’t put their hands on it and no one scratches the paint with a bag until it’s fully cured.
Common Issues When Painting a uPVC Door
When it comes to painting uPVC, there are a few key issues that need to be addressed.
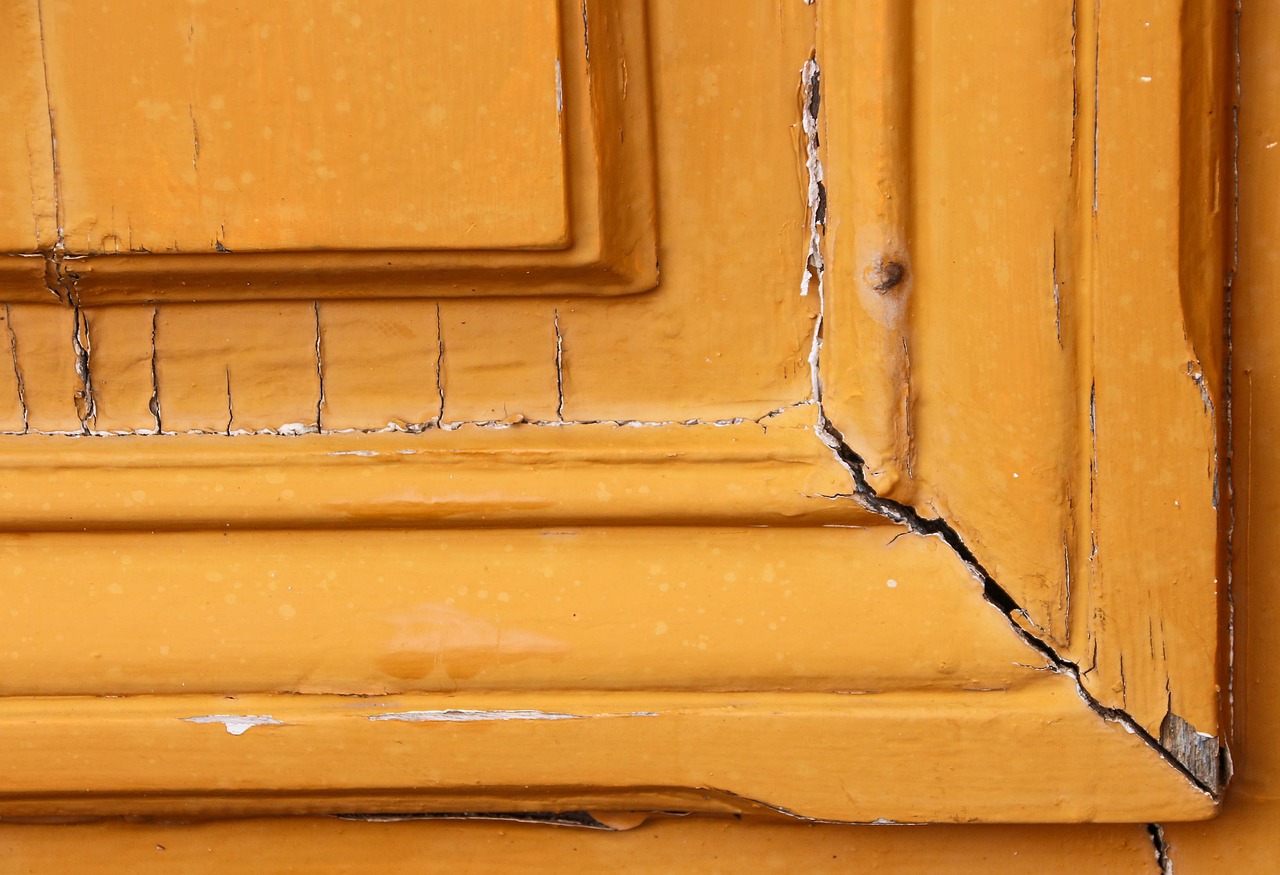
Peeling or Cracking Paint
If you notice the paint is peeling or cracking, this is usually due to poor adhesion, often caused by improper preparation of the uPVC surface. To fix this, you may need to remove the loose paint, thoroughly clean the door again, lightly sand the surface, and reapply primer and paint. Using a paint specifically designed for uPVC can also help prevent peeling and cracking, as can applying multiple thin coats rather than a single thick one.
Dealing with Uneven Paint
Uneven paint can be the result of poor painting techniques. These can include overloading the brush or roller, or not allowing each coat to dry properly before applying the next. To correct this, you might need to lightly sand the uneven areas and apply another coat of paint. Remember to use thin, even strokes or rolls. Always ensure the paint is well-mixed before use to prevent variations in colour or texture.
What to Do if Paint Isn’t Adhering Properly
If the paint isn’t adhering properly, this can be due to a few factors, such as a dirty or poorly prepped surface, or using the wrong type of paint. If the paint isn’t adhering properly, this can be due to a few factors, such as a dirty or poorly prepped surface, or using the wrong type of paint. Applying a primer before painting will enhance the adhesion of the paint to the door. If problems persist, consult with a paint professional or reach out to the paint manufacturer for advice.
Alternatives to Painting uPVC Doors
If painting uPVC feels like it comes with too many risks, there are alternative routes to take to update your doors.
Vinyl Wrapping
Vinyl wrapping is an alternative to painting, providing a fresh, new look to uPVC doors. This involves applying a high-quality vinyl film to the door, available in a range of colours and finishes. It’s a relatively quick process that doesn’t involve any drying time, and it’s reversible if you change your mind. It can be more cost-effective than replacing the doors, and high-quality vinyl wraps can last several years with proper care.
Professional Painting Services
If you’re set on changing the colour of your uPVC doors but nervous about doing it yourself, consider hiring a professional painting service. Professionals have experience with uPVC surfaces and access to commercial-grade products that might provide a more durable finish than DIY alternatives. They will also handle the preparation and clean-up process, saving you time and hassle. Always request quotes from a few different services and check their reviews before making a decision.
Would a different door be a better choice?
If the door has faded or discoloured this is a sign of cheap uPVC that hasn’t worn well. The reality is that painting over a worn-out door is not the best way to solve the problem. You could buy a new uPVC door, but consider the benefits of replacing it with other doors, such as a steel door.
Steel Doors
You may envisage a steel door as being too industrious for the home, however, over the last few years advancements in design mean you can now purchase a steel door that looks just as attractive and “homely” as a uPVC door. Furthermore, a steel door with a decent powder-coated finish will mean the door should never need to be repainted. Made from galvanised steel, it will be long-lasting, require low maintenance, offer high security and, because of its longevity, offer value for money.
Check out our collection of steel doors.
Conclusion
Whilst it is possible to paint a uPVC door, there are many factors to consider before attempting to do this yourself. To ensure the paint successfully adheres to the uPVC surface, you should follow a careful process of prepping, sanding, priming and a smooth application. There is no guarantee that the paint will not flake or peel in time as uPVC was not designed to be painted. Painting an uPVC door may also void the warranty of the door from the manufacturer.
There are other options available if painting a uPVC door comes with too many risks for you. You could hire a professional painting service to do the job for you, or you could consider updating the door with a door made from another material, such as steel. Although it has an industrial reputation, steel doors are now available in modern colours and designs.
Other FAQs
If you require more information about painting a uPVC door, take a look at our FAQs.


